Using Beyond Identity for Authentication
In the Getting Started section, we walked you over how to create a tenant, an application, as well as how to configure that application in order to authorize and authenticate a user with Beyond Identity.
Let's review those steps in a bit more detail in the following section.
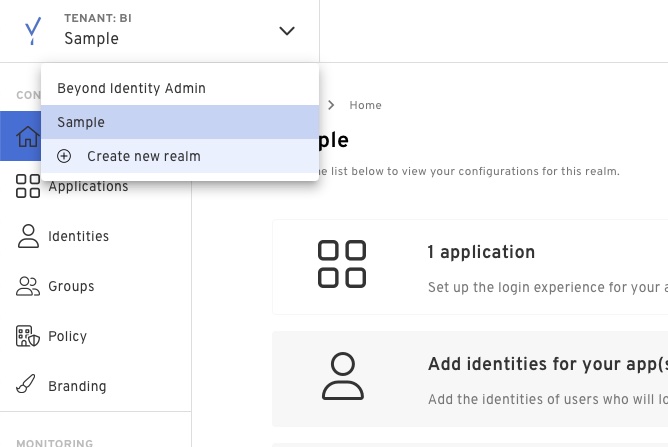
How to create a new Realm
Realms are unique administrative domains within a tenant. All new tenants have a default realm called Beyond Identity Admin which should not be used to configure for delegate IDP purposes.
Click the drop down on the top left corner and add a new realm.
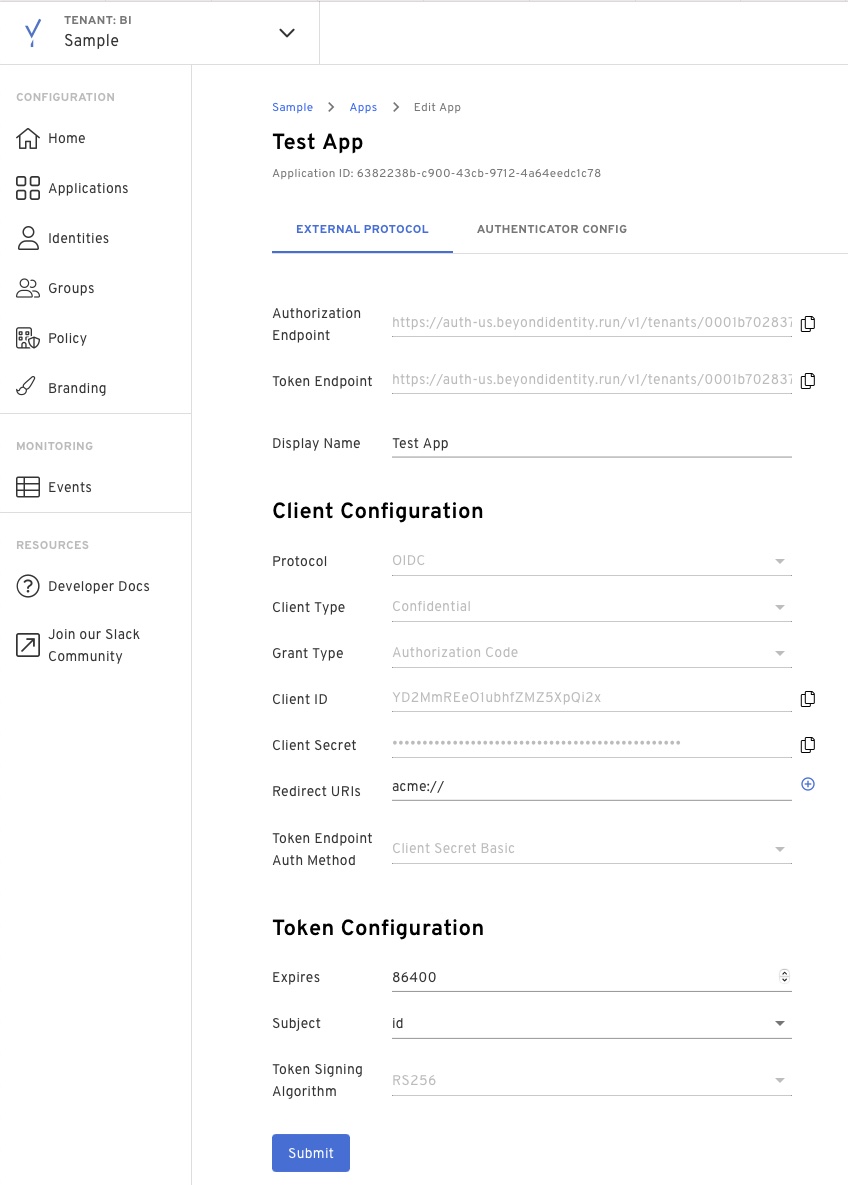
How to create an Application
Applications hold the configuration necessary to integrate your existing software stack with our authentication experience. To create a new application you can:
Click 'Applications' in the left menu
Click 'Create app'
Fill out the display name with whatever you want to name this app
Select the client type:
Confidential clients are applications that are able to securely authenticate with the authorization server, for example being able to keep their registered client secret safe.
Public clients are unable to use registered client secrets, such as applications running in a browser or on a mobile device.
Set the redirect_uri to be a URL where you want to receive the authorization code and state. This can be either:
- An app scheme or Universal URL / App Link if you're implementing this in a native application
- A URL to any page in your web application
After the protocol configuration is finished, modify your authenticator config
Click on create and your app should be created
How to create a test identity
Before users can start authenticating with Beyond Identity, they must be provisioned in our directory. To do this via the Admin Console you can:
In the Admin Console under the 'Identities' tab, select 'Add Identity'.
Enter the following values:
Email: <email_address>
Username: <user_name>
Name: <full_name>
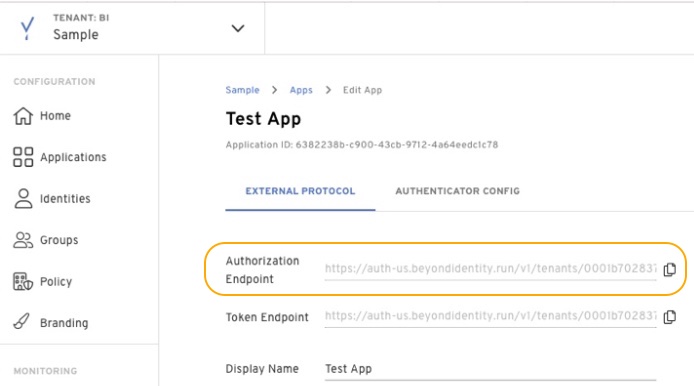
How to craft your authorize URL
A full authorization request url has additional parameters that we need to account for. You can find the base URL under your application.
 ]
]
https://auth-us.beyondidentity.com/v1/tenants/<tenant_id>/realms/<realm_id>/applications/<application_id>/authorize?
response_type=code
&client_id=<client_id_from_application>
&redirect_uri=<redirect_uri from application>
&scope=openid
&state=<state>
Start the request
Use the URL above from a browser, and watch how the authentication process unfolds.